Easiest Way to Fix Common Dryer Issues (Low’s, Samsung & Miele)
- Khadija Sheikh
- 0 Comment
- Kitchen Appliances
- 5 minutes read
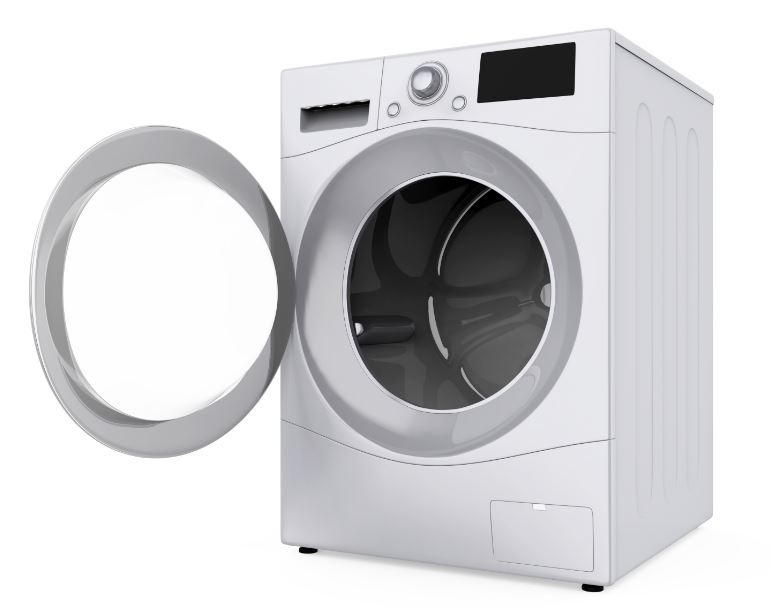
Fixing Common Dryer Issues does not need wealth but a little passion for DIYing. Best Selling Brands like Samsung, Lowe’s & Miele Electric dryer routinely break down, but the best things these errors need a little push of troubleshooting.
Let’s follow step by step guide to fix Washing Dryer Common Errors and replace any part of your dryer. This guide also includes the proper and safe way to disassemble, how to access parts of Samsung Dryers, and re-assembling.
Issues You Can Fix Yourself
- Dryer stops turning during the cycle
- Dryer won’t start
- Dryer won’t turn at all
- The dryer is too hot
- Dryer takes too long
- Dryer won’t stop
- Dryer trips breaker
- Dryer makes noise
- Dryer doesn’t heat
How to Disassemble And Fix the Dryer Issue
First of all, I would encourage you to perform the whole procedure safely, keeping in mind all the necessary cautions like
- Unplug Power Cord
- Avoid Water Spilling
- Lifting Heavy Parts
To access the main control board remove the screws at the rear securing the top panel. Now slide the panel back and lift it off you can access the user control board by carefully pulling the control panel off from the top.
- Then disconnect the wire harness to fully release the panel to access components like the door switch and the heating element assembly. You need to remove the front panel to do this.
- Uninstall the screws on top securing the panel open the dryer door and remove the remaining two front panel mounting screws. Now use a flathead screwdriver to depress the locking tabs and pull the front panel forward.
- Disconnect the door switch wire and lift off the panel. You need to remove the drum to access components like the drive motor and blower assembly.
- To do this, first unthread the screws securing the support bracket, detach the support bracket from the frame, remove the wire harness from the twist retainers, and set the bracket aside.
- Now disconnect the lightbulb wire and remove the wire harness from the bulkhead twist retainers, if you haven’t already done so.
In the next phase:
- Remove the screws securing the front bulkhead.
- Remove the blower housing mounting screw as well.
- Disconnect the moisture sensor wire harness, you can now pull the bulkhead off.
- Reach under the drum and push the idler pulley to release the tension on the belt.
- Then unthread the belt from the pulley and motor shaft, (You can use the belt to help lift the drum out of the cabinet)
- If you need to remove the rear bulkhead, first unthread the screws securing the heating element housing to the mounting bracket and set the housing aside
- Now remove the screws on the back of the cabinet, securing the rear bulkhead.
- Pull out the locking ring from the water inlet valve and depress the collar to release the water-line.
- Meanwhile, be prepared for some water to spill.
- Detach the wire harness from the twist retainer, and you can lift out the rear bulkhead.
That’s All
Re-Assembling The Dryer After Troubleshooting
- To reinstall the rear bulkhead and to reassemble the dryer hook, the bulkhead tabs on to the rear wall of the cabinet.
- Replace the screws in the back to secure them, ensure the wire harness is secured in the twist retainer
- Reinsert the water line into the valve, and replace the locking ring.
- Reposition the heating element housing by inserting the rear of the housing into the bulkhead.
- Align the front tab on the bracket and replace the screw.
Now
- Return the drum to the dryer cabinet and align it on the rear rollers—Loop the belt around the pulley and motor shaft in a zig-zag formation.
- Rotate the drum to help align the belt, reposition the front bulkhead on the cabinet frame.
- Replace the mounting screws, replace the blower housing screw as well.
- Reconnect the moisture sensor wire harness, reconnect the light bulb wire and secure it in the twist retainer.
- Secure the wire harness in the bulkhead twist retainers.
- Now secure the wire harness in the support bracket retainers.
- Realign the support bracket, and now secure it with the screws.
- Replace the front panel by aligning the slots in the panel with the tabs on the base.
- Reconnect the wire to the door switch and snap the top half of the panel into position.
- Replace all of the mounting screws, reconnect the wire harness on the control panel.
- Align the tabs on the bottom of the control panel with the slots in the trim and snap the top edge into place.
Now, it’s time to;
- Reposition the top panel by aligning the edge of the panel with the tabs on the support bracket, then push forward.
- Replace the screws in the back.
- With the dryer fully reassembled,
- plug the power cord back in and confirm that the appliance is functioning correctly.
That’s It!
Here is My Suggestion for the Most Durable and Best Quality Washer and Dryers for Sale.
Amazon Best-Seller Washer & Dryers
Khadija Sheikh
Meet Khadija Sheikh, an avid kitchen specialist with a passion for exploring innovative kitchen gadgets, cooking tools, and remodeling tips. Her culinary journey is an artistry of flavors, where she uniquely combines her love for kitchen intricacies with a special focus on crafting meticulous step-by-step recipes. As a dedicated writer, Khadija not only unveils the secrets behind delightful dishes but also transforms kitchens into creative spaces. Join her a flavorful adventure, where every recipe becomes a narrative, and every kitchen tool tells a story.

