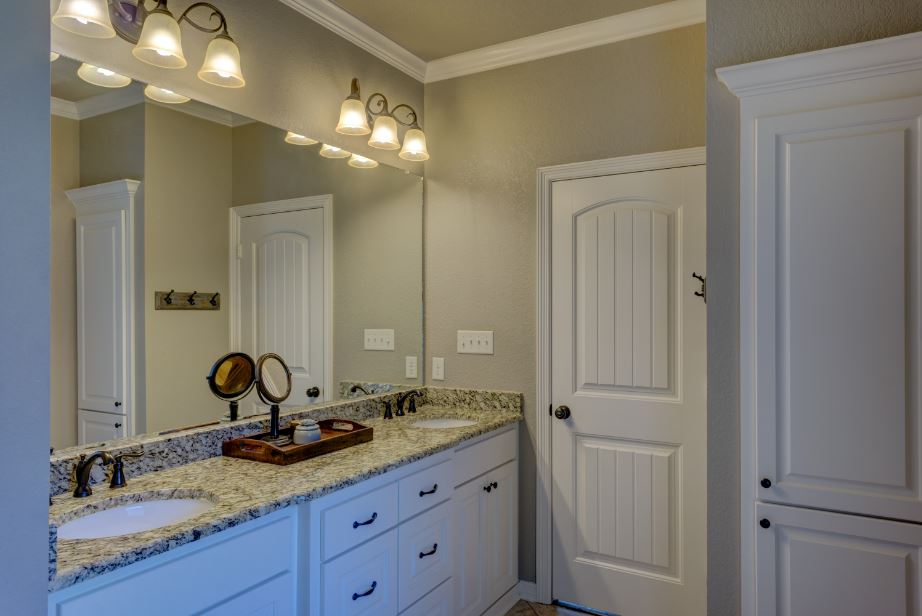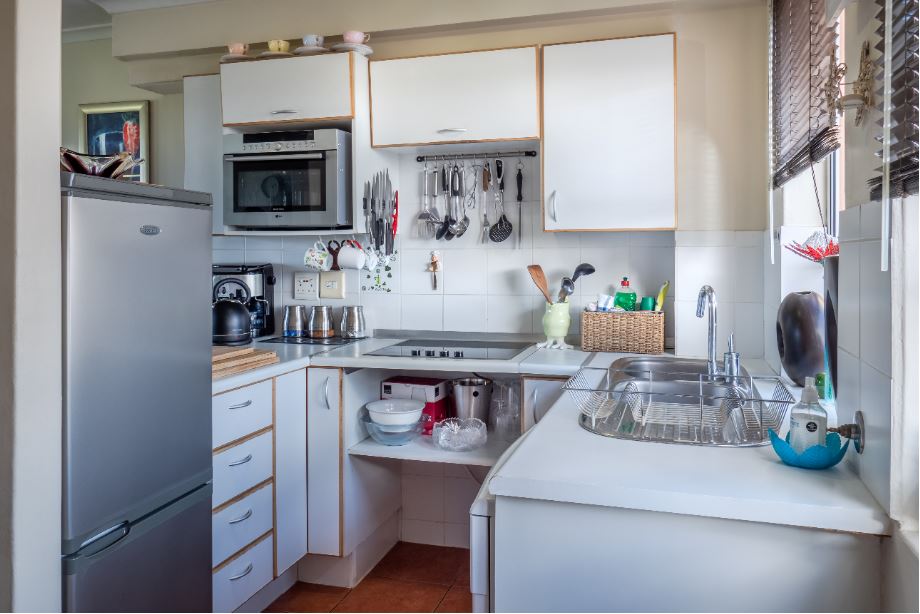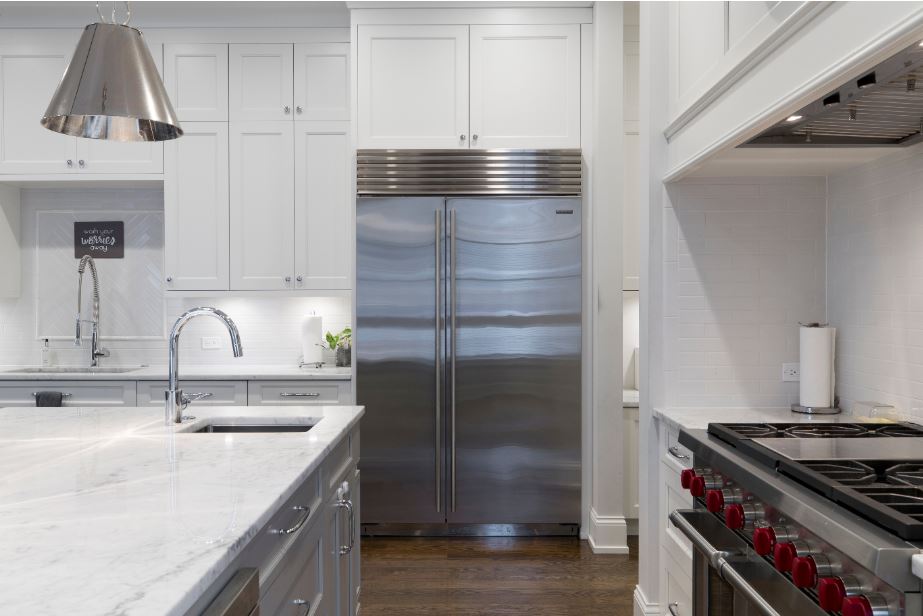
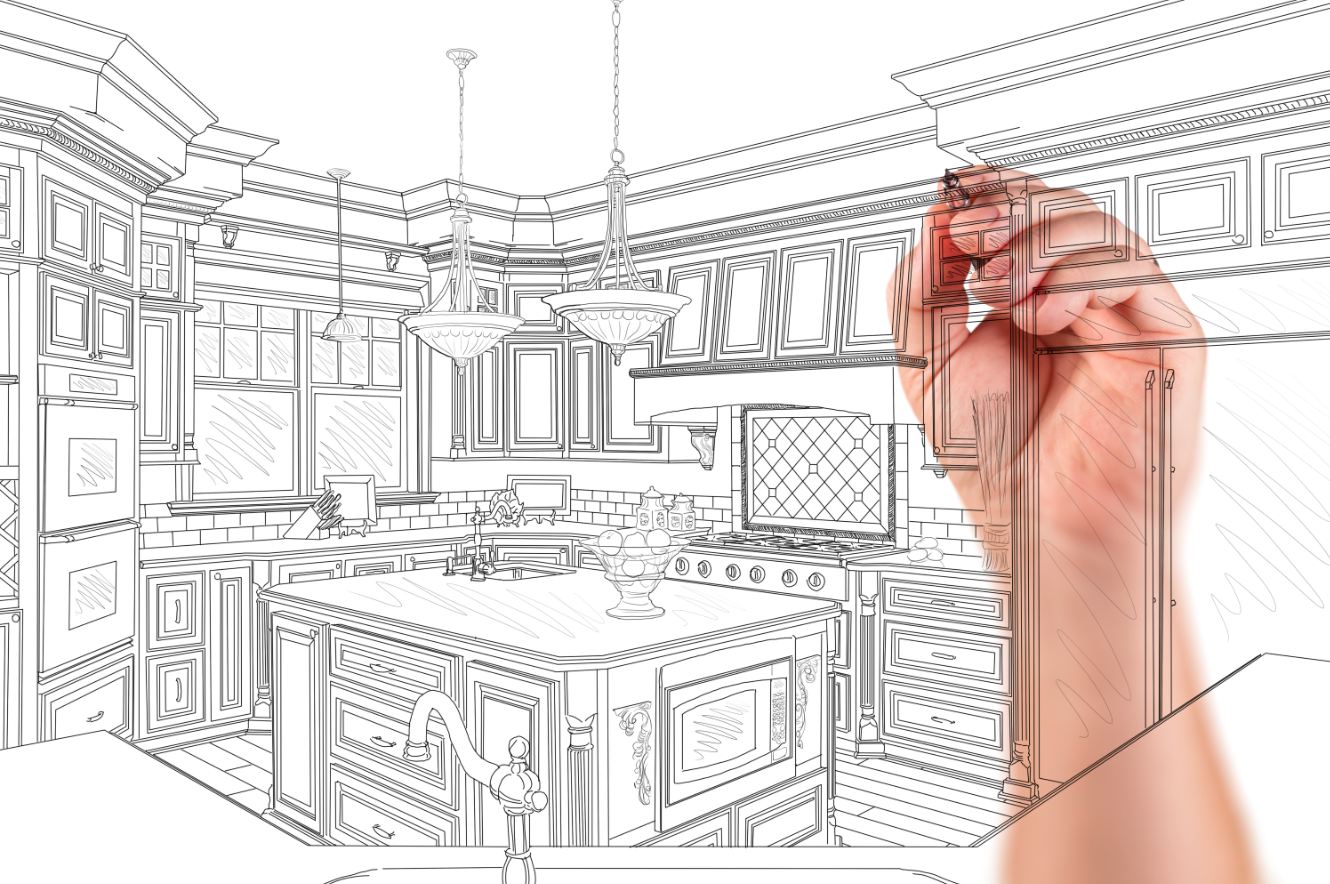
Best Guide to Extend Kitchen Cabinets to Ceiling
If you are going to upgrade your kitchen cabinets and countertops, there you go some tips you need to consider. This custom kitchen cabinet guide will compress your custom cabinet cost to a minimum level.
An ideal review to extend cabinets to the ceiling can get you an extra foot of storage space compared to the typical cabinet. She Kitchen creates the best kitchen cabinet cost calculator for you.
Table of Contents
Before You Begin
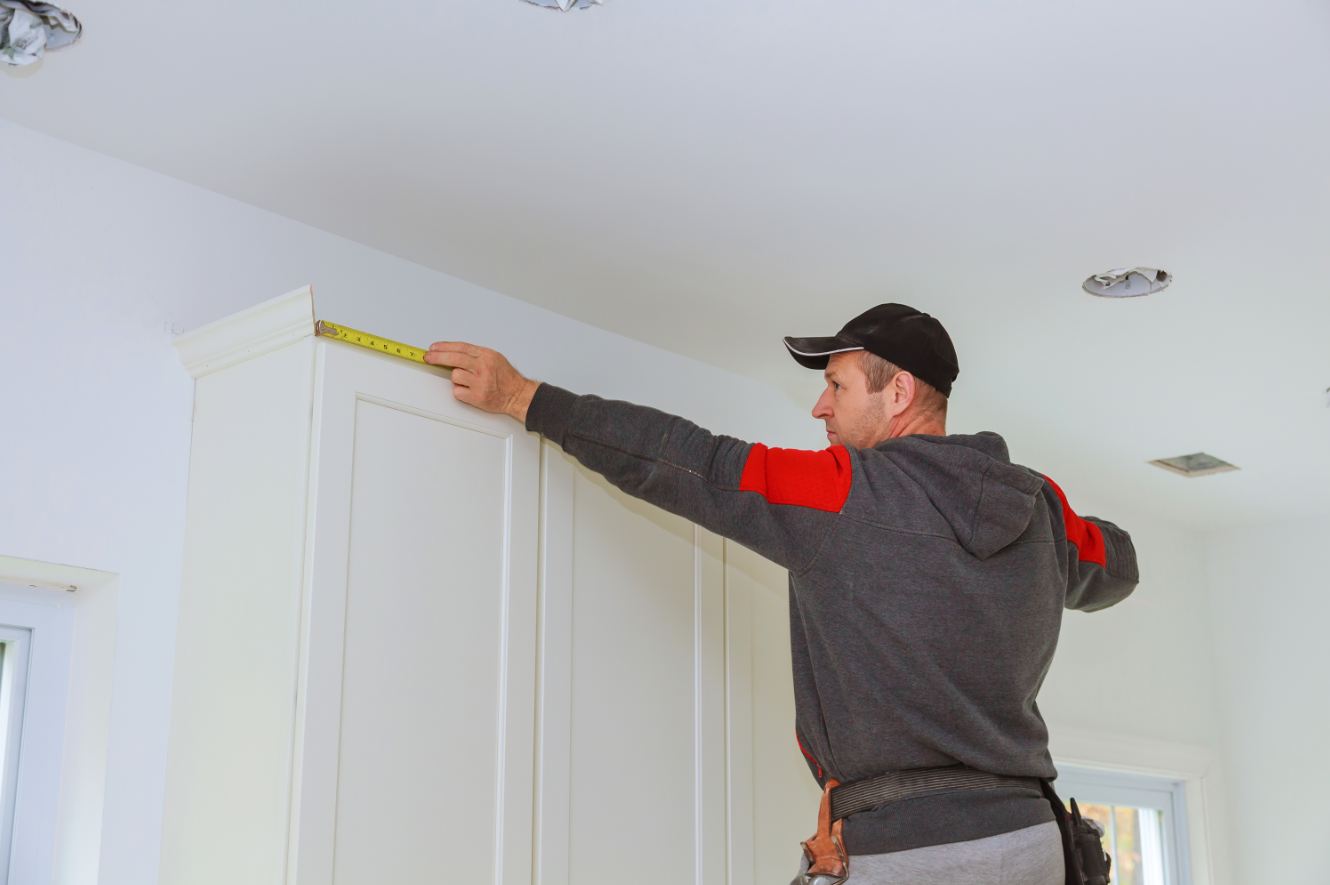
- Before any mud work is done on the ceiling of your kitchen you need to check the framing of your ceiling joists. Because the mud work would precede the paint.
- They tend to be on 16-inch centers. You need to check them and ensure they’re all playing with each other. If there are joists that are saggy they need to be corrected first of all.
- Typically, this won’t be a problem at all, if you have an attic above you. If it’s another story it gets more difficult but it’s still worth doing.
- There are ways of furring the ceiling down. In the worst-case scenario so that you can achieve a flat ceiling even if you have whacked-out joists.
- This is important because your cabinets will serve as a straight edge placed against the ceiling and they will accentuate defects in the ceiling.
Rules that you can not avoid while doing the job.
-
Framing Check (Flatten the Ceiling)
-
Use Small and Scribal Top Trim
Using a small one is a normal size crown molding. While using three to four inches crown molding has multiple issues. It can’t bend, it can’t flex to fit against a wavy surface. So it’s like a straight edge and it’s just going to have to show the cracks.
Meanwhile, you can caulk it, but caulking just doesn’t look professional and beautiful. Usually, the best alternative is to just leave the cracks. What I mean by scribing is a method of fitting a piece of woodwork to a wavy surface. While with the crown it’s really not appropriate.
Scribing is very difficult to do on the crown and it can only be done to a very small degree. Perhaps as much as a quarter-inch or three-eighths of an inch on a typical piece of the crown.
In other words, it’ll work out if your ceiling is within a quarter-inch of being perfectly flat and that would be a pretty good ceiling.
You seriously need to prefer these two things here:
-
Trim Size
-
Flat Surface
What Is The Best Trim Size?
Having an inch and an inch and a half is pretty flexible. While for most woods and can be just pressed into place and then nailed to cover any cracks. Small trims are describable and it lets you create a seamless fit to the ceiling.
Flat Surface
A nice flat surface is actually the final surface before you get to the ceiling. That is very important because flat surfaces are easy to scribe.
Buying Stock Cabinets
You need to buy the best available unfinished stock cabinets. I got my upper cabinets ensuring the correct size for my current cabinets.
So this process led me to remove the hardware, I painted them each separately and then they actually sat up on top of my kitchen cabinets for quite a while before I actually got to the next steps of installing them.
Hanging The Cabinet
Once I had all the cabinets painted it was time to remove the existing crown molding and then get to installing them. So on some of the cabinets, I realized that the wall behind our cabinets was not level.
Here I did what I have emphasized earlier, and that’s leveling the front. I had to add a piece of wood shim behind certain areas to make them all level in the front.
Now you need to hang the cabinets right where the existing cabinets were in the studs. This should be the most straightforward part of the entire process. While the only part that would take some work would be getting all the cabinet’s level as I mentioned.
Because the wall was uneven so each cabinet actually required a different amount of shim some had none, some had a thicker piece and some had a thinner piece.
So once they were all level it should very easy to install them right into the studs.
Cutting the Wood
Next, it is time to cut all the wood pieces you would need to extend the trim from the top of the cabinets to the ceiling. I used MDF and 2×4 throughout the process. Meanwhile, you have your choice to go for plywood or whatever.
But let me tell you that MDF is generally denser than plywood and it was the main panel piece of my case.
Building a Box
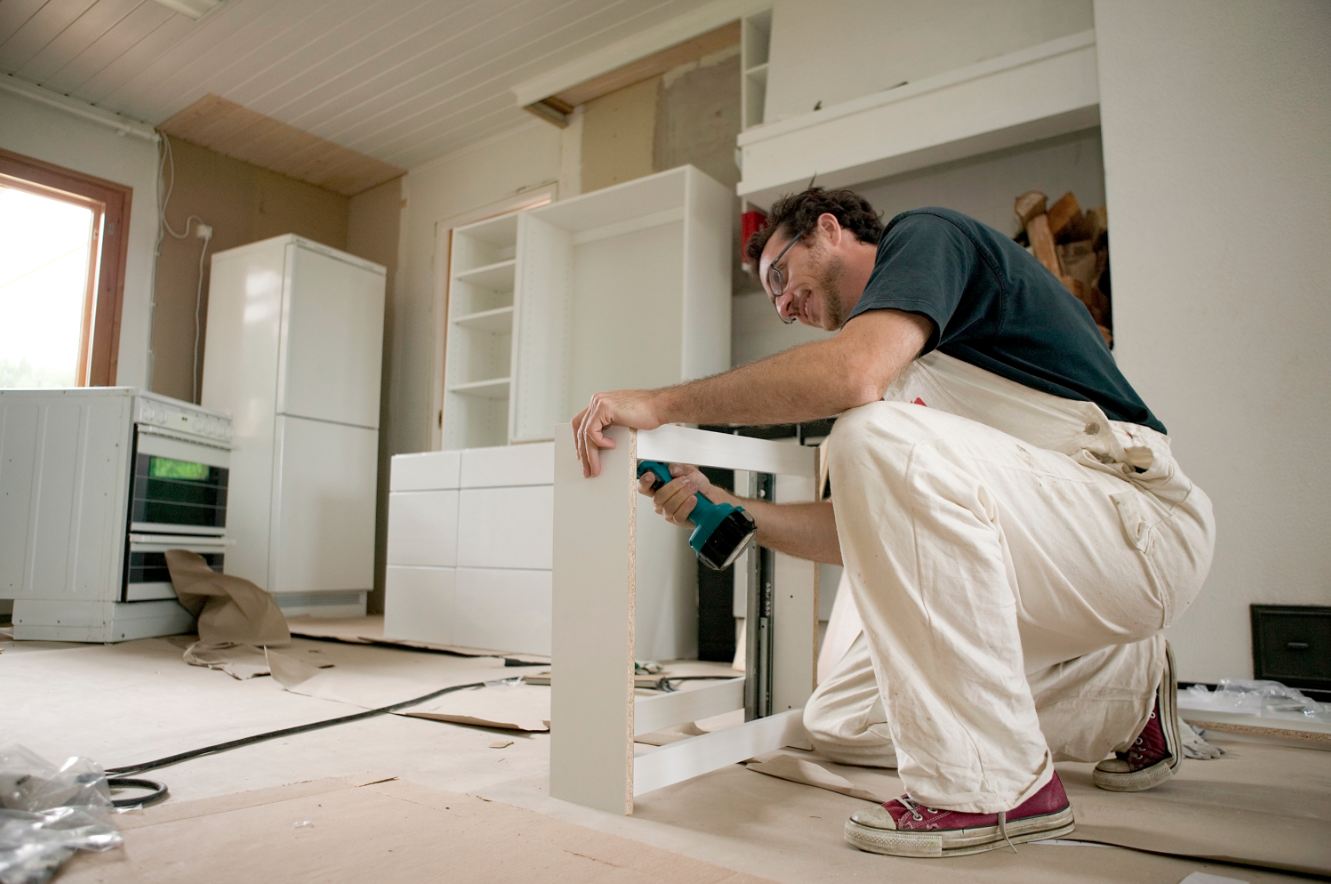
Although I did buy stock cabinets for most of my projects. I had one cabinet in the corner that was a non-traditional size. So I had to build a box for my extending cabinet to match the rest.
And again because of the wall with uneven, I actually had to build a box in place instead of building it and then installing it. If you need to add a box then I would say it is another plain easy task. Just use your regular wood glue and nails. while making sure to cover all the seams.
Covering the Seams
At this stage, you need to use wood putty to cover the seams between the base cabinets and the stacked cabinets and eventually repeat the same once you add the trim.
Building the Frame
Now you have to build a little bit of a frame to put the MDF up against to take the trim to the ceiling. I decided to use just 1 by 4 to take from the stacked cabinet all the way up to the ceiling. That is what you are going to easily attach the MDF/Plywood to when you are to that point.
Here you you have to attach the piece of MDF to this frame using liquid nails or regular nails to get it up there.
Once you got the MDF/Plywood up you need to drill it into your frame and then you are all ready to attach the crown of molding.
Crown Molding
Here you need to add the second piece of trim right above between the stock cabinets and the MDF. it would make it look more put together more like trim and more seamless.
You can also paint the trim and layer of touch-up work seeing any vacuum in the seam or any other requirement.
In the end, after finishing trimming and stuck cabinets you might have some like around that box and your actual grand plan.
A Precious Tip
Finally, here I would share the best tip for the kitchen design layout. Something that you might be looking for under tips for kitchen remodels. Keep this gem whenever you go for kitchen renovation tips.
Never go too close to the ceiling or you may start to get door conflicts with some of the lights. I’ve experienced that in the past. A fine space avoids that error, it stays a healthy distance from the ceiling looks like the doors are about 2 inches below the sheetrock of the ceiling.
Conclusion
So overall this project should hardly take you a day and a half for all the bulk of it. The things that are the most time-consuming are measuring and making sure everything was level and going to work while the installing would be very quick.
I highly recommend you purchase the best quality kitchen wall cabinets in white and natural wood colors. Meanwhile also read an ultimate kitchen & bath remodeling guide before making any purchase.
Meet Khadija Sheikh, an avid kitchen specialist with a passion for exploring innovative kitchen gadgets, cooking tools, and remodeling tips. Her culinary journey is an artistry of flavors, where she uniquely combines her love for kitchen intricacies with a special focus on crafting meticulous step-by-step recipes. As a dedicated writer, Khadija not only unveils the secrets behind delightful dishes but also transforms kitchens into creative spaces. Join her a flavorful adventure, where every recipe becomes a narrative, and every kitchen tool tells a story.